Translate built-in flows
Edit the translation template Text column and upload a CSV for supported built-in messages.
Use the Translations setting to upload your own text for built-in bot flows. The earlier Bual Pro guide describes a template spreadsheet, a Text column and a CSV upload under Settings > Customizations.
The walkthrough comes from an earlier interface and demonstrates Messenger content. Confirm the setting's availability and which built-in flows and channels it affects in your current account. The source does not establish that it translates the Bual Pro dashboard, custom flow messages or every ecommerce message.
Open the translation setting
- Select the intended Bual Pro account.
- Open Settings > Customizations.
- Find Translations near the top of the page.
- Use the template link in that setting's description to get the current translation spreadsheet.
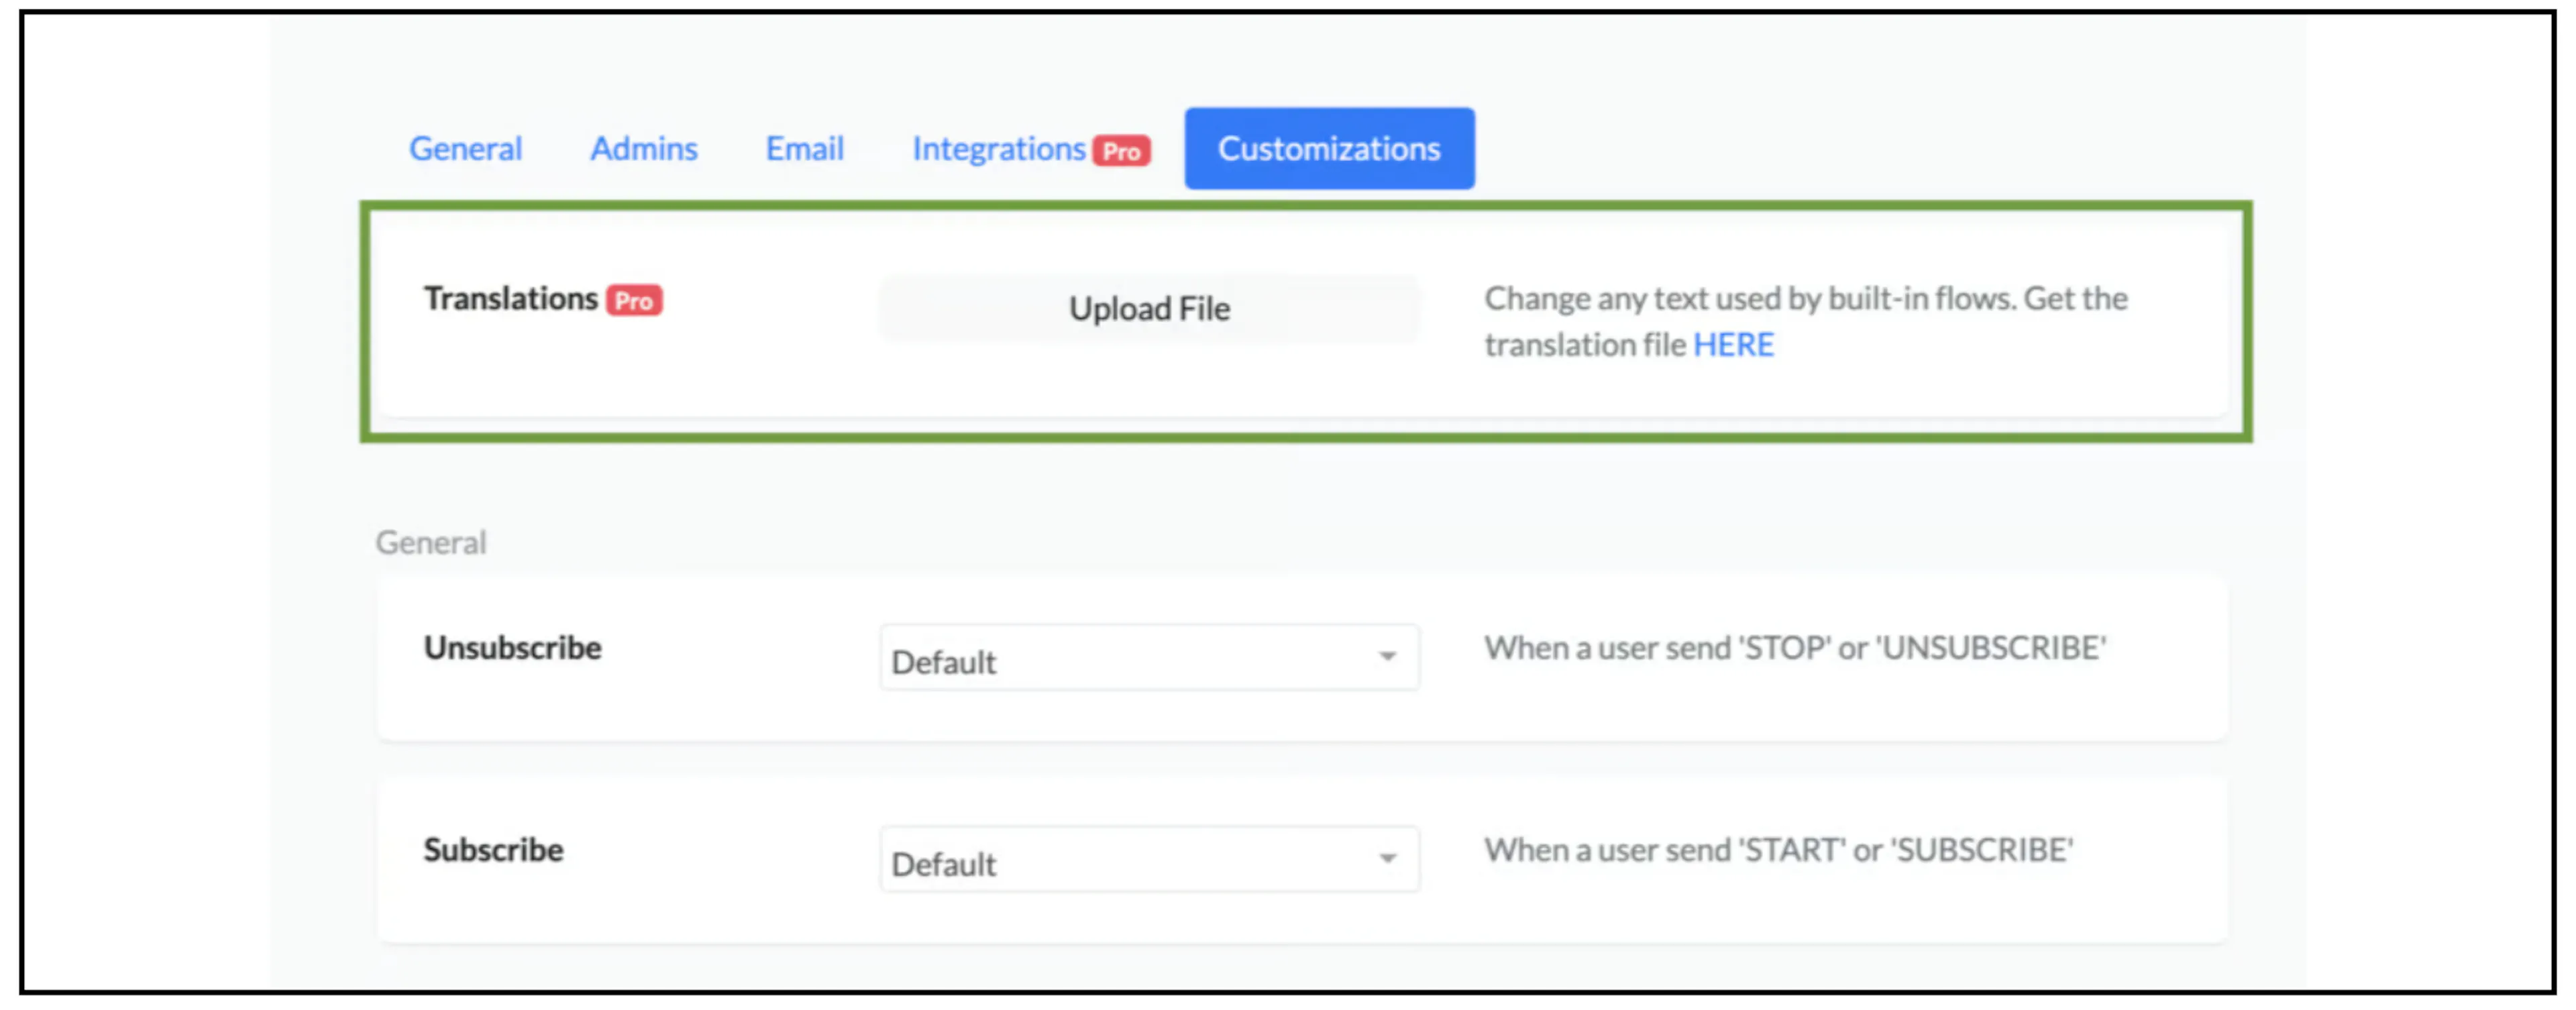
The screenshot labels the template link HERE and shows an older Pro badge. Confirm your current account's access; the screenshot does not establish today's plan requirements. If the setting or template is missing, contact Bual Pro support.
Edit a copy of the template
Make your own copy of the spreadsheet, or download a copy to edit. Keep the original so you can compare your changes later.
Change the entries in the Text column to the wording your customers need, such as approved Malay text. Keep the template's identifiers, column headers and any variables or placeholders unchanged. Translate the surrounding prose without changing tokens the flow needs to insert values.
Use the current template supplied in your account. The source capture does not include the spreadsheet itself, so this guide cannot supply a verified row schema or complete list of translatable messages.
Export and upload the CSV
- Review the edited
Textvalues and any preserved placeholders. - Download or export the edited spreadsheet in
.csvformat. - Return to Translations and select Upload File.
- In Upload Translations, choose SELECT FILE and select your CSV.
- Review the selected file, then use Continue and any confirmation controls shown in your current interface.
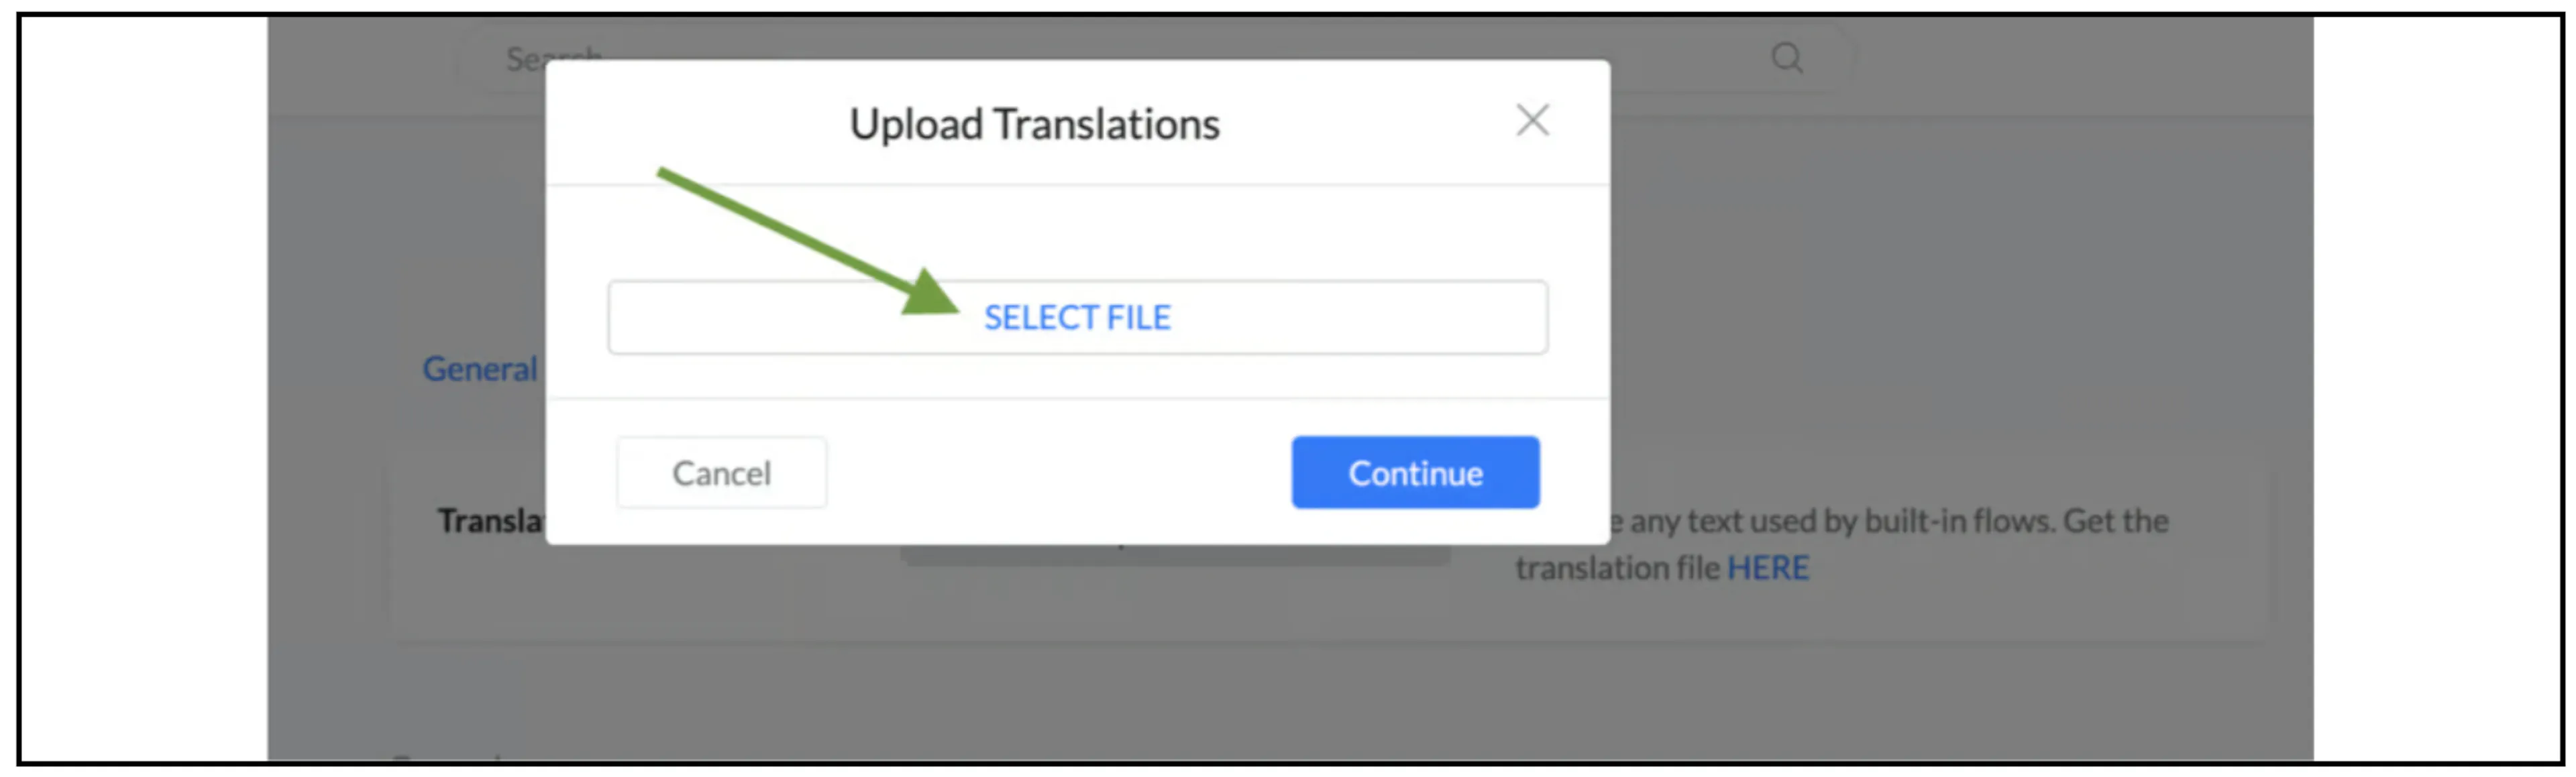
Before uploading to an account serving customers, confirm whether an upload replaces or merges existing translations, which flows it changes and how to restore the previous version. The earlier guide does not define those behaviors. Keep a copy of the current translation file if it is available.
Check the customer-facing text
Use a controlled test of the affected built-in flow after the upload. Check the language, punctuation and inserted values in each message you changed. For ecommerce text, use a test setup and avoid creating a real payment or order just to inspect a translation.
Confirm how missing entries, blank cells, commas, quotation marks, line breaks and non-ASCII text are handled before uploading a larger file. The source does not establish encoding requirements, validation errors, automatic language detection or per-contact language selection.
If the upload is rejected or text remains unchanged, check the selected account, current template, Text column and CSV export. Ask support to confirm the affected message keys, file format and fallback behavior before replacing more content.