Use a custom checkout page
Review checkout URL parameters and server-side API steps for a verified payment.
The earlier Bual Pro ecommerce settings allow a bot's checkout button to open an external checkout page. The page receives order and contact parameters, and your server uses the Bual Pro API after verifying payment.
The screenshots show an earlier interface. Confirm the current custom-checkout control, redirect behavior and supported payment setup in your account before enabling this for customers. This guide documents the source workflow and the published API contract; it has not processed a payment.
Find the checkout setting
- Open Tools > E-commerce in the intended account.
- Open Settings, then Checkout.
- Review the checkout selector. The source shows Default checkout page and Custom External checkout page.
- If the custom option is available, configure your external checkout URL using the controls shown in your current interface and review the change before saving.
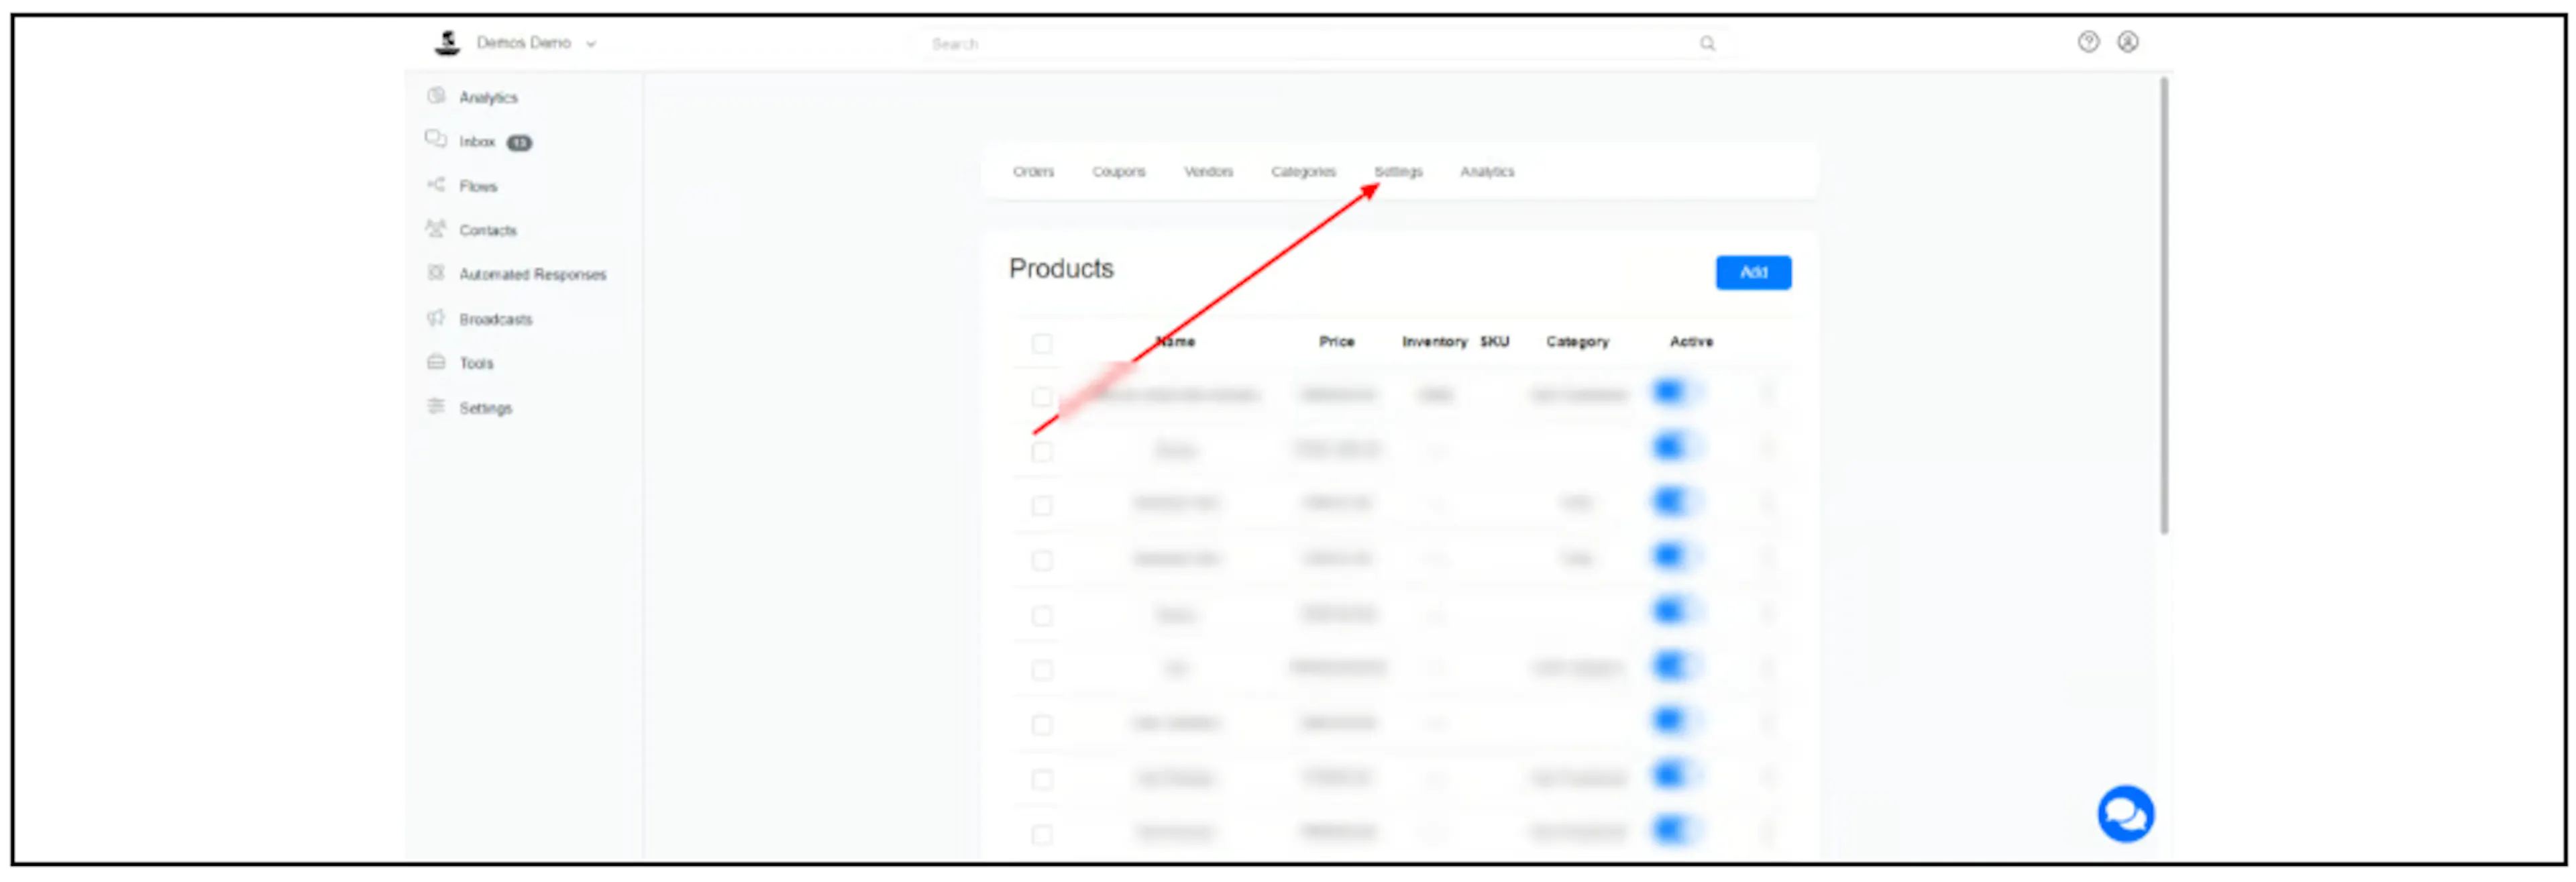
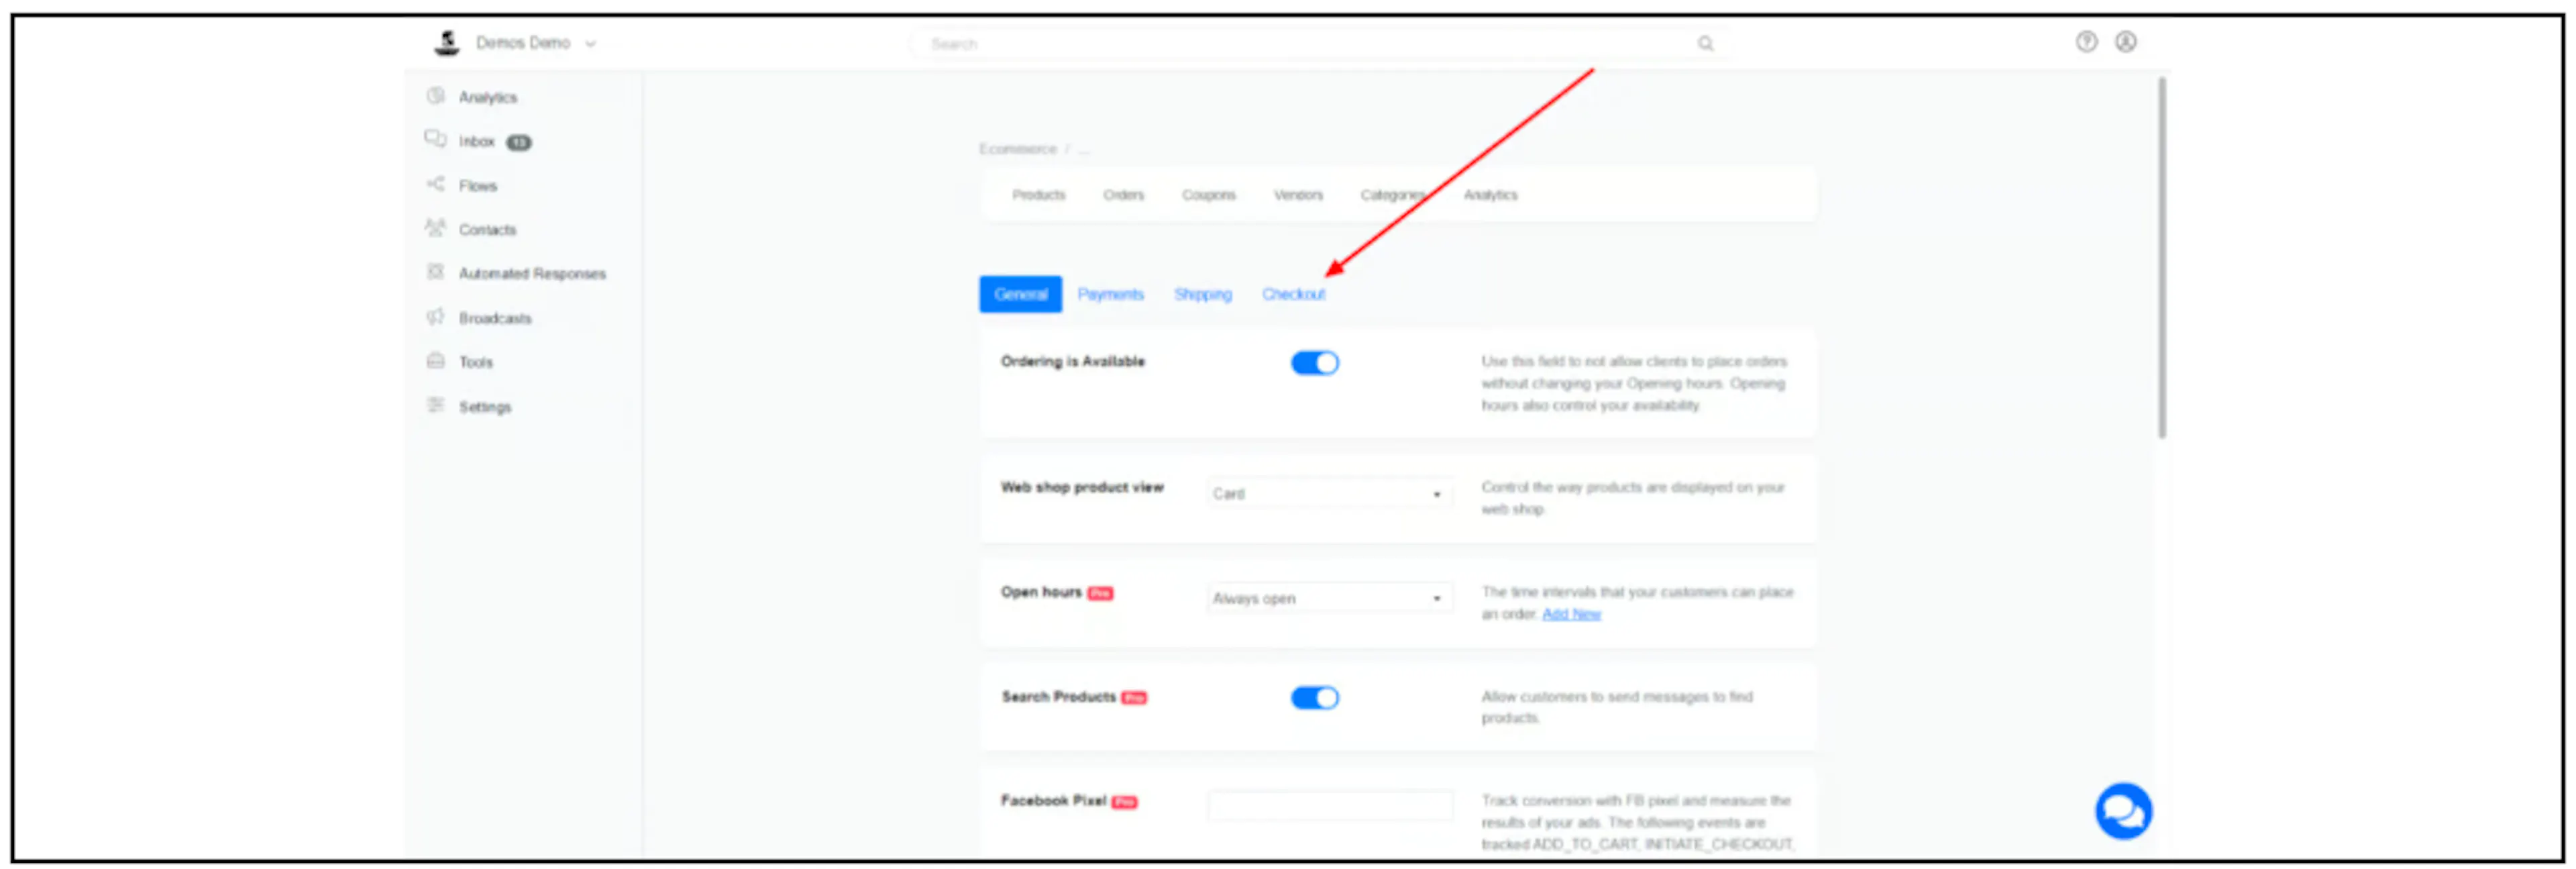
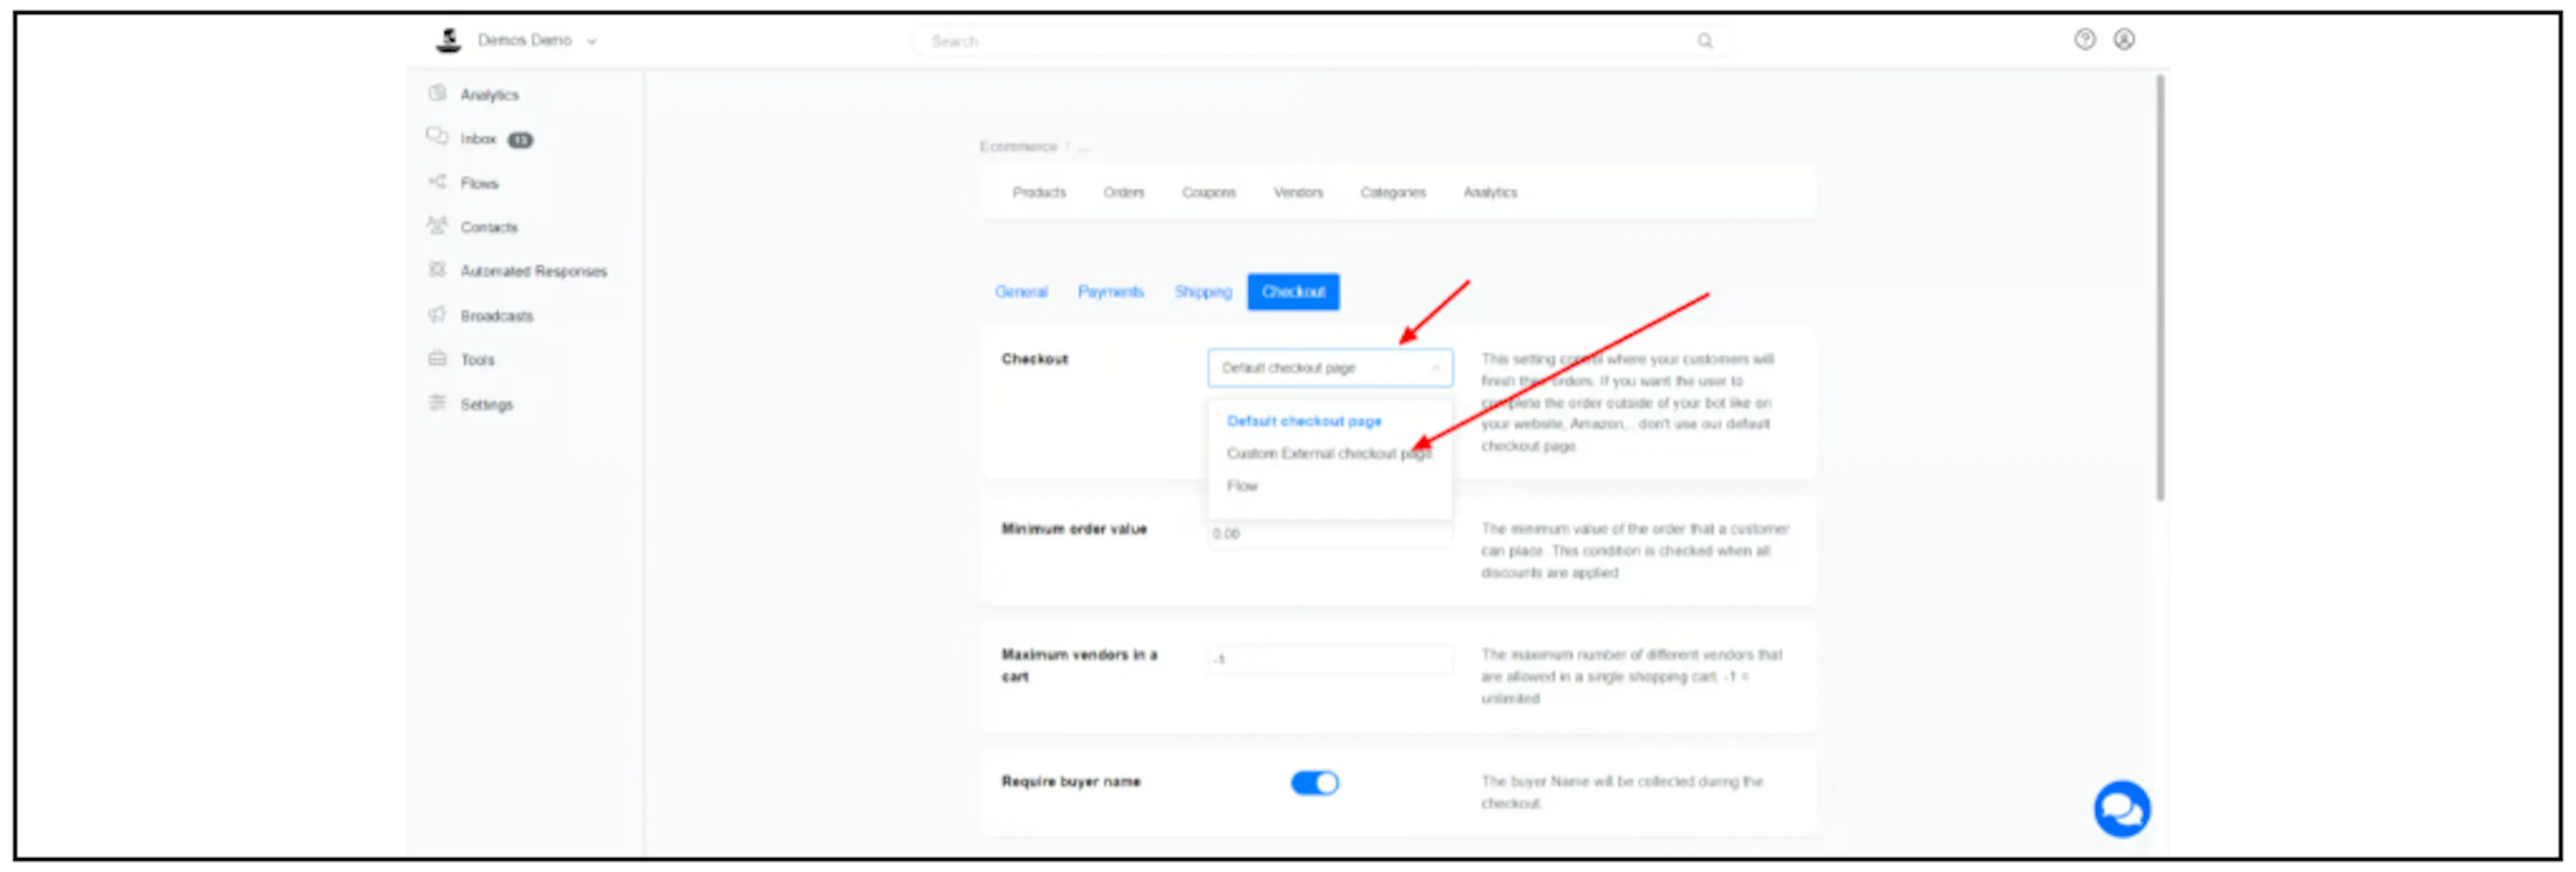
The captured screenshots do not show the complete custom-URL entry or save sequence. Confirm those controls and keep the preceding configuration available before changing a checkout serving customers.
Parameters sent to the checkout page
The source describes the following URL pattern:
https://example.com?order=<order_id>&page=<account_id>&user=<contact_id>&total=<total>&subtotal=<subtotal>
| Parameter | Source meaning |
|---|---|
order | Order identifier used when marking the order paid. |
page | Bual Pro account identifier. |
user | Bot contact identifier. |
total | Total value of the contact's cart. |
subtotal | Subtotal value of the contact's cart. |
These parameters arrive through the browser and can be changed. Validate identifiers and retrieve the trusted order/cart data on your server before deciding what to charge. Do not use query-string amounts or a customer's return to a success page as proof of payment.
The article does not define query-parameter units, currency, encoding, signatures or behavior when your checkout URL already has a query string. Confirm those details before implementing the redirect handler. The API Cart model separately documents monetary values in cents; that does not by itself establish the units of these browser parameters.
Read the cart on your server
The current documented operation is Get a contact cart:
GET /contacts/{contact_id}/cart
The Swagger Cart model includes order_id, page_id, user_id, currency, total, subtotal and line_items. It describes money values as cents. Match the returned contact, account and order to the checkout session, and confirm how the cart relates to an order if the contact changes it during checkout.
Use the API authentication guide and keep the X-ACCESS-TOKEN on your server. Do not place the token in a checkout URL, browser script or customer-facing message.
Mark an order paid after verifying payment
Have your server verify the payment with the payment provider, including the amount, currency and intended order. Then use Mark an order as paid:
POST /contacts/{contact_id}/pay/{order_id}
Content-Type: application/x-www-form-urlencoded
X-ACCESS-TOKEN: <SERVER_SIDE_TOKEN>

amount_received=<INTEGER_AMOUNT_IN_CENTS>
The documented contact_id is an integer, order_id is a string and amount_received is a required integer form field described as the total the contact paid in cents. The success example is {"success":true}. Review both the HTTP status and response before treating the update as complete.
The Swagger contract lists 400 when the amount received is below the order total, 402 with a note about a Messenger checkout-failure message, and 404 when the order ID does not exist. These descriptions are not a tested contract for every channel or failure. The source does not define idempotency, duplicate notifications, partial payments, refunds or retry behavior; confirm them before automating a payment update.
Review before enabling checkout
Use a test payment environment and controlled records. Check order/contact matching, amount units, currency, cancellation, failed or delayed payment, duplicate provider notifications and restoration of the previous checkout setting. Check when stock, order state and customer messages change.
For the existing connection walkthroughs, see PayPal and Stripe. The old source also names Razorpay, but does not provide a reviewed connection walkthrough here; confirm current support separately.